-
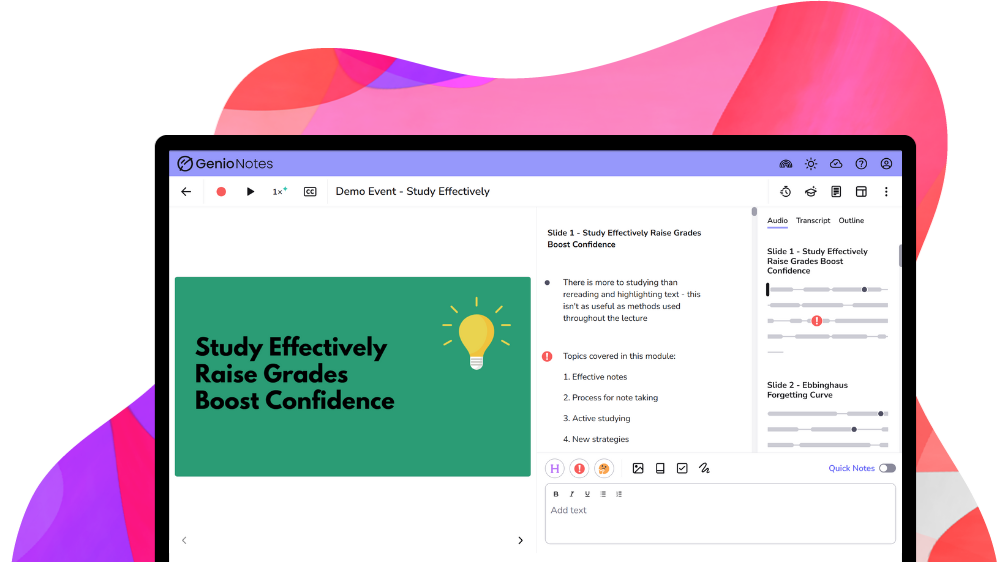
Organize notes, record lectures, type or write notes, to improve note
 taking skills, retention, and comprehension by allowing students to focus more on the course lecture content and less time taking notes.
 The ATI offers a number of options to support students with notetaking. The most commonly used solutions are as follows:
Notetaking & Organizational Resources
-

What is Assistive Technology?

AT Assessments & Referrals

Library AT Labs
Options for Typing with your Voice

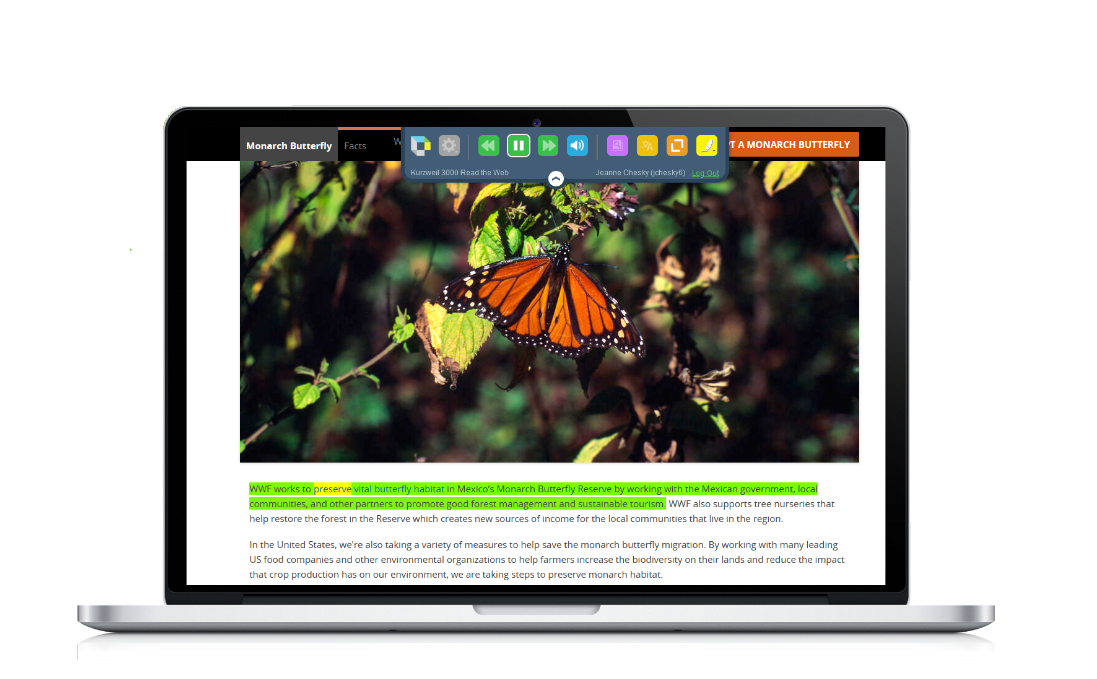
Tools for Reading
Tools for Notetaking

Tools for Writing
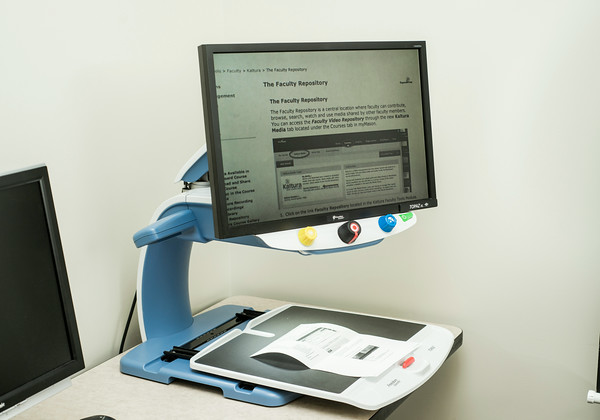
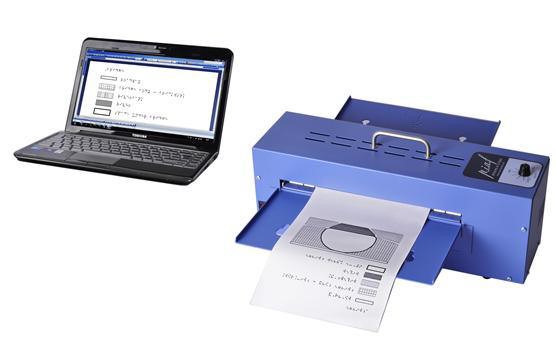
Tools for Individuals with Visual Impairments
Tools for Deaf or Hard of Hearing Individuals

Accessibility Tools for Mac & iOS
Accessibility Tools for Windows
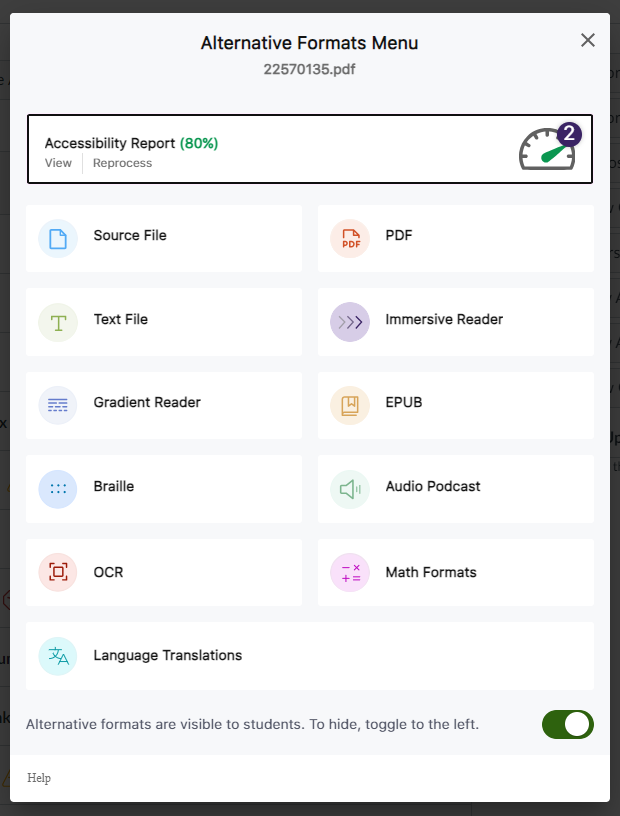
Alternative Format Options in Canvas (Students)


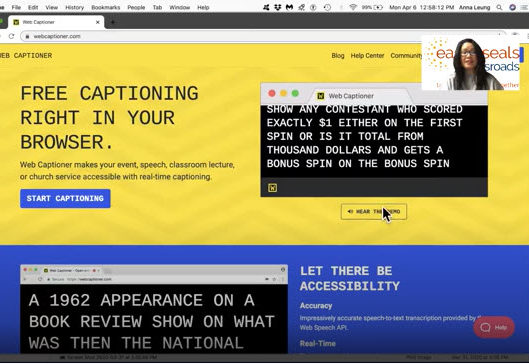
Webcaptioner connection with Zoom (AI based live captions, must be opened in a Chrome browser).
- In Webcaptioner:
- Create a free account
- Login to Webcaptioner
- Select “Settings”
- Choose “Settings”
- Select “Channels”
- Choose “Zoom”
- In Zoom
- Enable closed captioning in your Zoom account.
- Sign in to the Zoom web portal
- In the navigation panel, click Account Management then Account Settings.
- Click the Meeting tab.
- Verify that Closed Caption is enabled.
- If the setting is disabled, click the toggle to enable it. If a verification dialog displays, click Turn On to verify the change.
- (Optional) If you want to make this setting mandatory for all users in your account, click the lock icon, and then click Lock to confirm the setting.
- Start Zoom Meeting
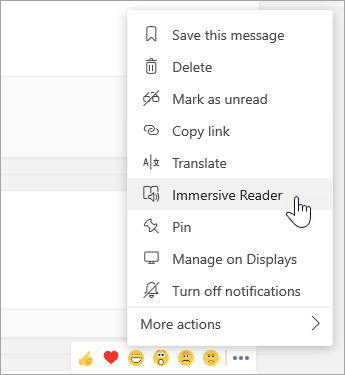
- In a Zoom meeting click the Closed Caption button.
- Choose the “Copy API token” option and paste the token here.
- Enable closed captioning in your Zoom account.
- In Webcaptioner
- Copy the API token in the “Zoom API Token” text box
- Select “Add Channel”
- Press “Start Captioning”
- In Zoom
- Select “Show Subtitles”
-
Meet your 2025-2026 Trusted Testers!
-
Meet your 2025-2026 Document Accessibility Pros!